
Most new Shopify owners have heard that Google Search Console matters. Far fewer have actually verified their store or opened a single report. If that is you, you are running your SEO on guesses, and guesses are expensive.
Google Search Console is Google telling you, in its own words, how it sees your store. Which pages it has indexed. Which search terms show your products. Where you rank, and where you are close. It is free, it is the most useful SEO tool you are probably not using yet, and it works the same for a store with three products as for one with three thousand.
Here is the part most guides skip. Search Console only starts collecting your store history the day you verify. Wait six months and you have six months of blind spots you can never get back. That alone is reason enough to set it up today, even if you are not doing SEO yet.
This guide walks through the whole thing in plain terms: which property type to pick, how to verify a Shopify store (and the popular method I would skip), how to submit the sitemap Shopify already built for you, and how to read the four reports that matter. None of it needs a paid app or a developer. It needs one Google account and about fifteen minutes.
What Search Console is, and why you set it up first
Search Console and Google Analytics get confused all the time, so start here. Analytics measures what people do on your store once they arrive. Search Console measures what Google does before they arrive: what it crawls, what it indexes, and what it shows in results. You want both, but only one of them tells you why you are or are not showing up on Google.
For a Shopify store, that why is everything. You can have great products and still be invisible if Google has not indexed your collection pages, or if it is showing your listings for the wrong terms. Search Console is the only place you see that directly, from Google data instead of a third-party estimate.
It is also the free foundation the rest of your SEO sits on. Every other move you make, from rewriting product descriptions to prioritizing the pages worth optimizing first, only becomes measurable once Search Console is watching. Without it, you are improving things and hoping.
One honest note on expectations. Search Console tells you what Google sees and where the problems are. It does not fix anything for you, and verifying your store will not raise your rankings by itself. It is a diagnostic dashboard, not a growth button. The value comes from reading it and acting on it.
Domain property or URL prefix: which should you choose?
When you add your store to Search Console, Google asks you to pick a property type. This choice trips up more new owners than any other part of setup, so it is worth thirty seconds of understanding.
A Domain property covers your entire domain: every subdomain (www and non-www) and every protocol (http and https), all in one place. A URL-prefix property covers only the exact address you type in, so https://yourstore.com and https://www.yourstore.com would count as two separate properties with split data.
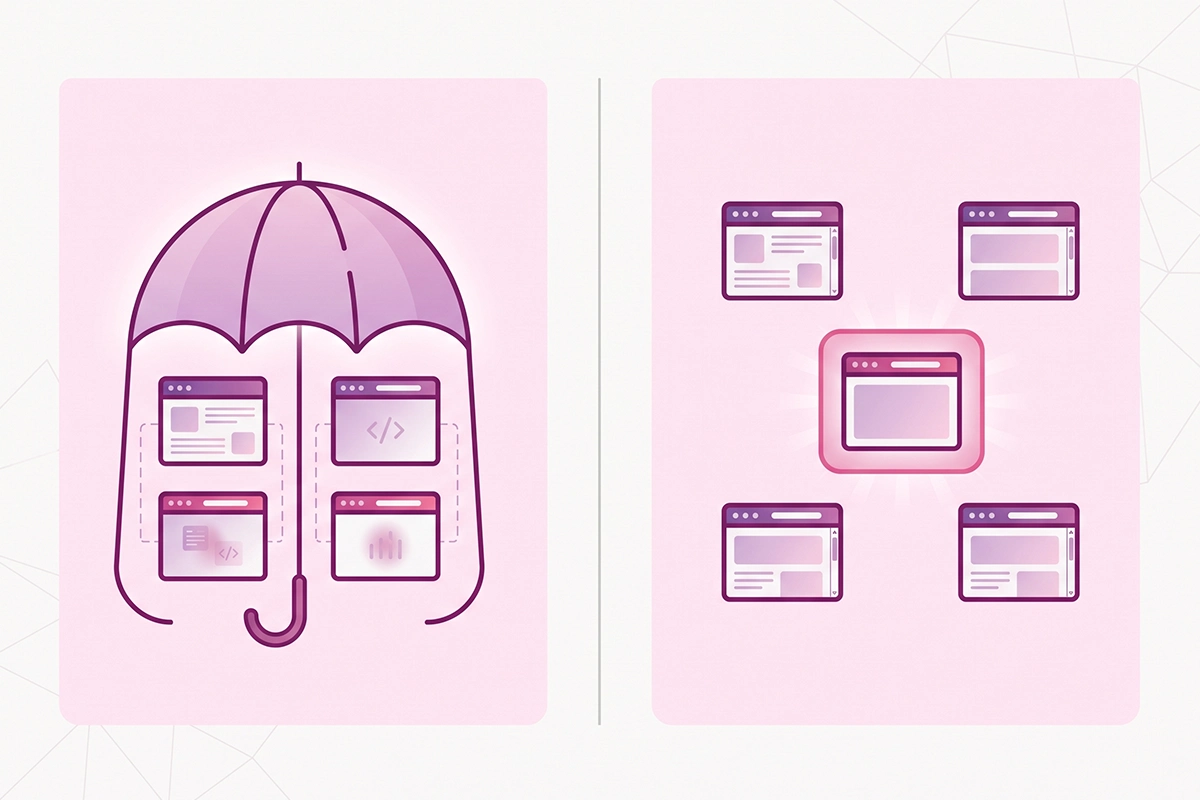
For almost every Shopify store, the Domain property is the right call. Shopify serves your store across a few URL variations, and a Domain property treats them as the single site Google already considers them to be. You verify it once, with a DNS record, and it does not break when you change themes.
The one time to use a URL-prefix property is when you genuinely cannot touch your domain DNS settings, or you are still on a temporary myshopify.com address before your custom domain is live. Otherwise, pick Domain and move on.
How to verify your Shopify store (and the method to skip)
Verifying just means proving to Google that you own the store. Shopify gives you a few ways to do it, and they are not equal. One is permanent. One quietly breaks. I will show you both so you can see why the choice matters.
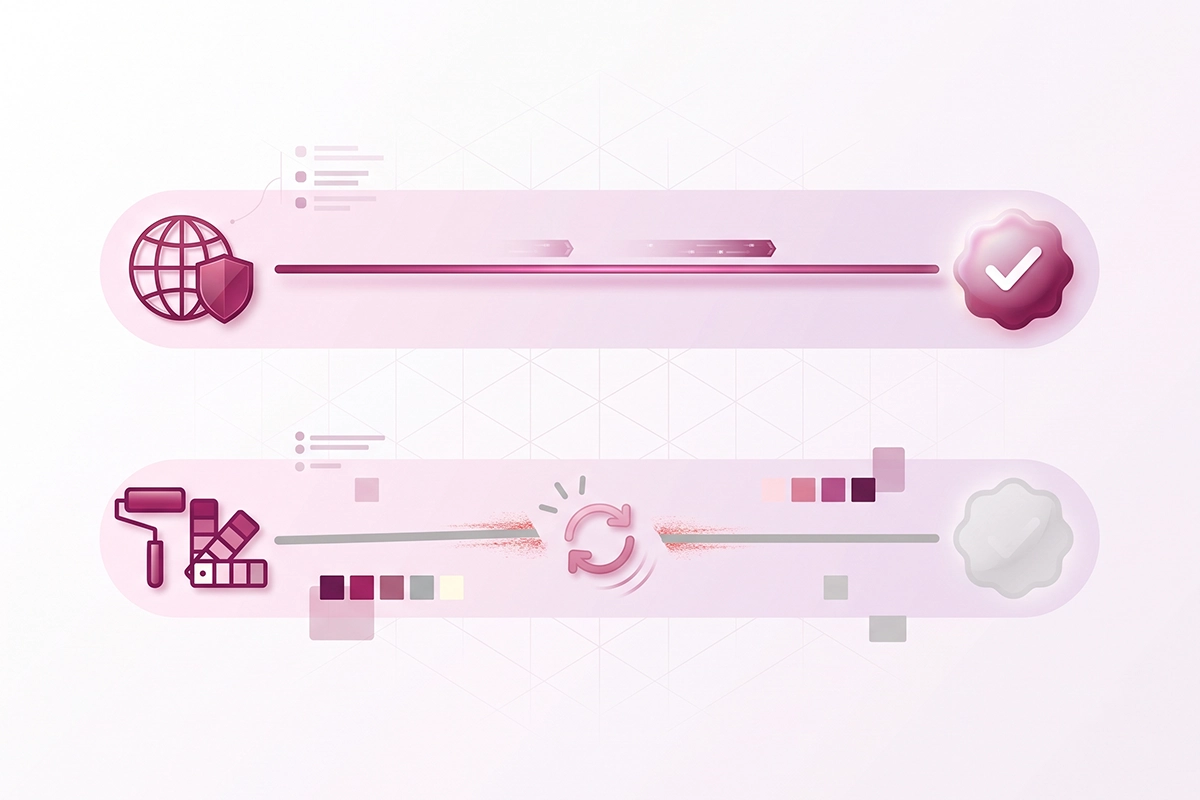
The DNS method (recommended)
This is the one I set up for every store, because it survives theme changes and covers your whole domain. It uses a TXT record, which is a small line of text you add to your domain settings.
In Search Console, choose the Domain property and enter your root domain (yourstore.com, no https, no www). Google shows you a TXT record to copy. Add that record in your domain provider DNS settings, then come back and click Verify. If your domain lives with a registrar like GoDaddy or Namecheap, you add it there.
If you bought your domain through Shopify, you can still do this: go to Settings, then Domains, manage the domain, and add a custom DNS record. That point catches a lot of people who assume a Shopify-bought domain locks them out of the DNS method. It does not. DNS changes can take a few minutes to a few hours to register, so if it does not verify on the first click, wait an hour and try again before assuming something is wrong.
The theme code tag method, and why it breaks
Search Console also offers an HTML tag: a meta tag you paste into your theme code, just after the opening head tag in theme.liquid. It works, and plenty of guides recommend it because it feels fast. Shopify own Google & YouTube channel uses this method behind the scenes to verify for Merchant Center.
Here is the catch. That tag lives inside your theme. Change your theme, update it to a new version, or switch to a fresh template, and the tag is gone. Your property silently un-verifies and your data stops updating, usually right when you are busy with something else. The DNS record has none of that fragility, because it lives with your domain, not your theme.
If you have already verified with the theme tag and everything works, you do not need to tear it out today. Just know that the DNS domain property is the version that keeps working, and it is worth switching to when you have five quiet minutes. One more method exists for stores already running Google Analytics 4: if GA4 is connected with the same Google account, you can verify through it. It is convenient, but it still creates a URL-prefix property, so I default to DNS.
Submit your sitemap (Shopify already built it)
A sitemap is a file that lists your important pages so Google can find them faster. You do not need to create one. Shopify generates it automatically at yourstore.com/sitemap.xml and keeps it updated every time you add a product, collection, page, or blog post. It is actually a set of nested sitemaps, one each for products, collections, blogs, and pages.
To submit it, open the Indexing section in Search Console, click Sitemaps, type sitemap.xml, and hit Submit. That is the whole job. After a day or two, Search Console shows how many URLs it discovered from your sitemap and how many it actually indexed. That gap is one of the most useful numbers you own, and it leads straight into the reports.
The four reports that matter for a small store
Search Console has a lot of menus. For a new store you can ignore most of them and watch four. Here is what each one answers at a glance.
| Report | What it answers | What to watch |
|---|---|---|
| Performance | Which searches show your store, and how you do | Impressions, clicks, CTR, average position |
| Pages (Indexing) | Which pages Google indexed, and why the rest are not | Not-indexed reasons, canonical issues |
| Sitemaps | Whether Google received your sitemap | Discovered vs indexed count |
| Experience & Enhancements | Page speed and rich-result eligibility | Core Web Vitals status, schema errors |
Performance
This is where you spend most of your time. The Performance report (labeled Search results) shows the actual queries that put your store in front of people, with four metrics for each: impressions, clicks, click-through rate, and average position. It is how you learn what you already rank for, which is often different from what you thought you were targeting.
Pages (your indexing report)
In the current Search Console, the indexing report is called Pages, and it lives under the Indexing menu. It splits your URLs into indexed and not indexed, and for anything not indexed it tells you why: excluded by a noindex tag, a redirect, a duplicate without the right canonical, or the common Crawled, currently not indexed, which usually means Google saw the page but did not think it earned a spot. If your products are not showing up at all, this is the first place to look, and I wrote a full walkthrough of why Shopify pages do not get indexed for when the reasons are not obvious.
Sitemaps
Small report, big job. It confirms Google received the sitemap you submitted and shows the discovered-versus-indexed count over time. If you submitted 300 URLs and only 120 are indexed months later, something is holding the rest back, and the Pages report tells you what.
Experience and Enhancements
These two cover how your pages behave and what rich features they qualify for. The Experience report includes Core Web Vitals, Google real-user speed and stability scores, which are a genuine ranking signal and where the INP fix most Shopify themes get wrong shows up. The Enhancements report lists the structured data Google detected on your store, like product, breadcrumb, and review markup, and flags any errors. Shopify themes ship with a lot of this markup built in, so this report is mostly about catching problems, not adding features.
How to read impressions, clicks, and position without drowning
The Performance report can feel like a wall of numbers. It is really just four, and once you know what each one means, the report starts telling you where the easy wins are.
Impressions count how many times a page from your store appeared in results. Clicks count how many times someone actually clicked through to you. Click-through rate is clicks divided by impressions, written as a percentage. Average position is your typical ranking spot for a query, where 1 is the top of the results.
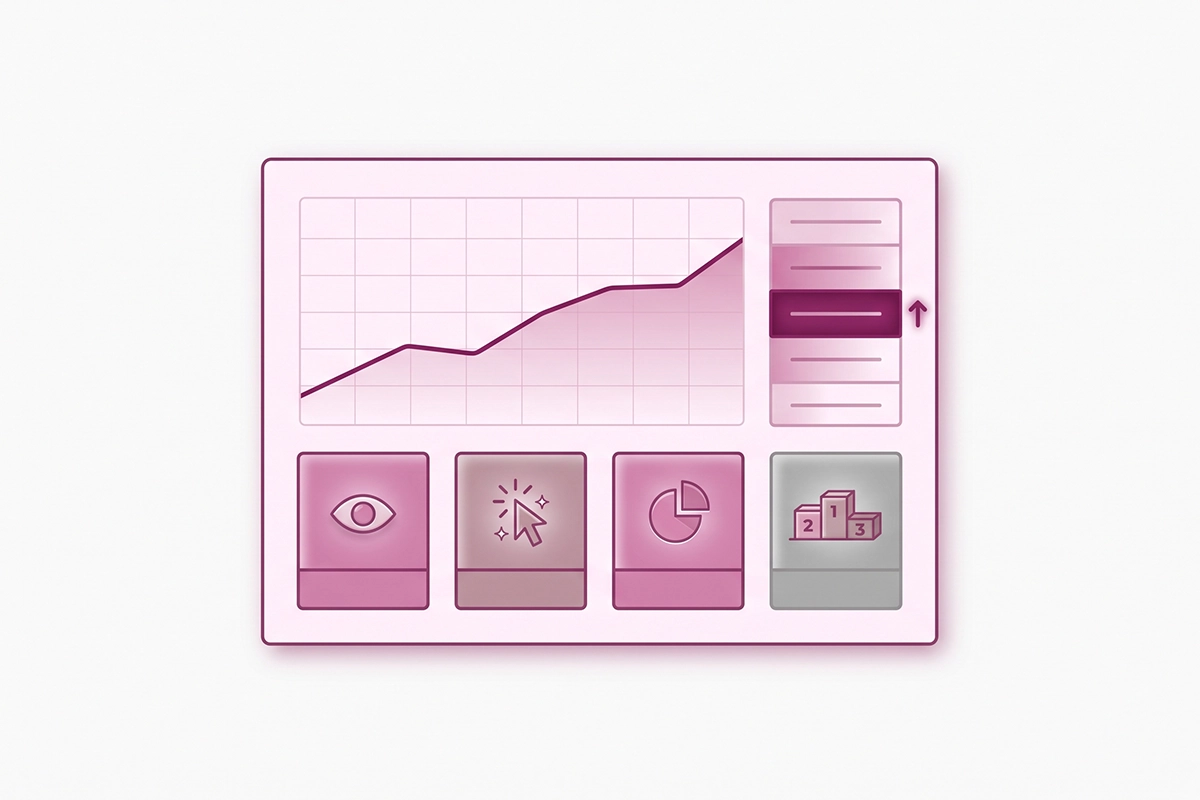
Why is Google showing you but not sending clicks?
That is the single most useful pattern in the whole report. A page with high impressions and a low click-through rate is showing up, but people are choosing someone else. Usually the fix is the title tag and the snippet: make the reason to click obvious. You are not chasing new rankings there, you are converting visibility you already have.
The other pattern to hunt for is position. Pages sitting around positions 8 to 20 are on page two or the bottom of page one, close enough that a stronger title, a bit more useful content, or better internal links can nudge them up. Click-through data consistently shows clicks drop off sharply below the top few results, so moving a page from 11 to 6 can matter more than publishing something brand new.
One caution on the sitewide average position number. When you start ranking for new terms, your overall average can dip even though nothing got worse, because you are simply appearing for more things. Read position per query and per page, not as one blended score for the store. And do not check this daily. Search data is noisy day to day and the numbers lag by a couple of days anyway, so weekly or monthly is where the real signal lives.
The three checks worth doing every month
You do not need a dashboard habit. You need a short, boring routine you actually repeat. Three checks cover most of what a small store needs.
First, open the Pages report and look for new URLs that dropped into not indexed since last time. A handful of excluded utility pages is normal. Your product or collection pages disappearing is not, and this is where you catch it early.
Second, scan Performance for two things: queries with lots of impressions and a weak click-through rate (a title problem), and pages parked at positions 8 to 20 (a nudge-them-up opportunity). Pick one of each and improve it. That is your month SEO to-do list, handed to you by Google.
Third, check the sitemap still shows as processed with a healthy discovered-versus-indexed ratio, and glance at Security and Manual actions. That last one is empty 99 percent of the time, but if rankings ever fall off a cliff overnight, it is the first place to look. If you want a deeper pass now and then, I keep a fuller weekend audit that goes beyond these three.
Ten minutes, once a month. That is the whole commitment, and it is enough to keep a new store out of trouble.
Where Search Console fits in your SEO
If you take one thing from this, make it the first step: verify your store with the DNS domain property, submit the sitemap, and let the data start building. The historical record you begin today is something no tool can backfill later.
From there, the rhythm is simple. Search Console tells you what Google sees, you read it once a month, and you fix the one or two things it points at. Over a new store first year, that loop quietly compounds. You stop guessing which pages need work because the Performance report is showing you, and you catch indexing problems while they are small instead of wondering months later why traffic never came. It is also increasingly where AI search shows up, so it pairs naturally with learning to track whether AI search is sending you shoppers.
Setup is the easy part. The habit is what turns Search Console from a tool you installed into a tool that pays you back. For any SEO work, this is where I start too: Search Console and Bing Webmaster Tools go in first, because indexing submissions and honest measurement run through them. Everything else is easier to prove once they are watching.
Rather have this set up and read for you?
The Studio Niza SEO service starts with Search Console and Bing Webmaster setup, sitemap submission, and indexing follow-up, then a monthly read of the reports that matter. Priced for small stores, from $499.
See SEO pricing & services →Or email contact@studioniza.com if you have a specific question about your store. I read every one.
Frequently asked questions
If you're still unsure after reading these, just send the question.
Is Google Search Console free for Shopify stores? +
Yes. Google Search Console is completely free, with no paid tier and no usage limits. It works the same for a three-product store as a three-thousand-product one, and you do not need a paid app to connect it to Shopify.
How long until Search Console shows data after I verify? +
Most stores see their first performance data within about two to three days of verifying and submitting the sitemap. Technical reports like Pages can take a little longer to fill in. If nothing appears after a week, recheck that verification still shows as active.
Do I need Search Console if I already have Google Analytics? +
Yes, they do different jobs. Google Analytics measures what visitors do on your store, while Search Console measures how Google crawls, indexes, and ranks it. Only Search Console shows the search queries and indexing status behind your organic traffic.
Can I verify a Shopify-bought domain with the DNS method? +
Yes. If you bought your domain through Shopify, go to Settings, then Domains, manage the domain, and add the TXT record Google gives you as a custom DNS record. Buying your domain through Shopify does not lock you out of the recommended DNS domain property.
Why do my Shopify products show as Crawled, currently not indexed? +
That status means Google crawled the page but chose not to index it, usually because it sees the content as thin, too similar to other pages, or low priority. On Shopify it often hits near-duplicate product or variant pages. Stronger, more distinct descriptions and better internal linking are the usual fixes.
Do I need an app to connect Search Console to Shopify? +
No. You can verify and submit your sitemap directly in Search Console for free, and the DNS domain property is more reliable than most app-based shortcuts. Apps can speed up indexing requests, but none of the core setup in this guide requires one.